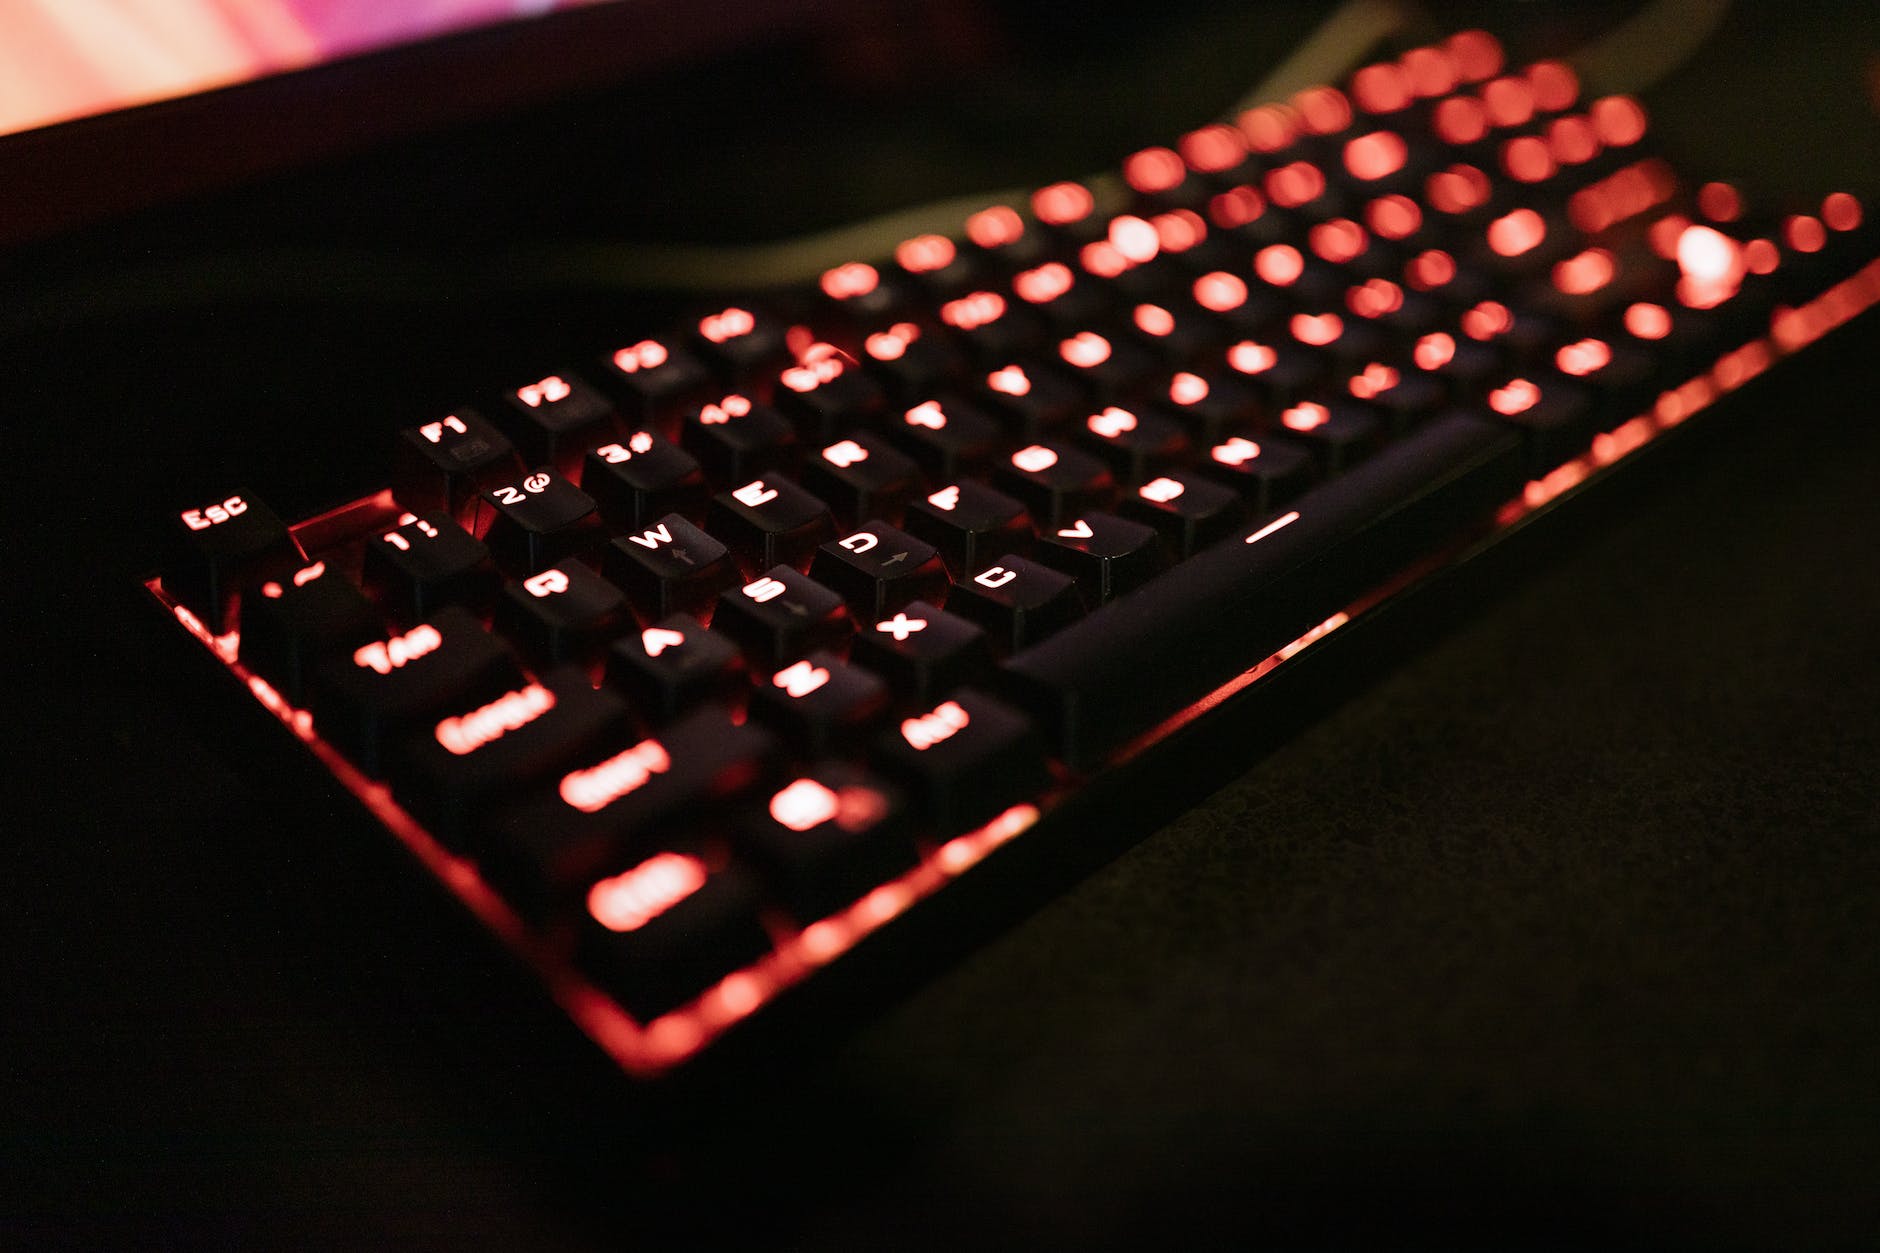
Mechanical Keyboard
Introduction:
Setting up a mechanical keyboard might seem daunting, especially if you’re new to the world of mechanical keyboards. However, fear not! In this guide, we’ll walk you through every step of the process, from unboxing your keyboard to customizing its settings to match your preferences. Whether you’re a seasoned enthusiast or a complete beginner, this comprehensive guide will ensure that you can set up your mechanical keyboard from zero with confidence.
How to Set Up the Mechanical Keyboard from Zero?
Setting up a mechanical keyboard might appear complex at first glance, but with the right guidance, it’s a straightforward process that anyone can master. Here’s a step-by-step breakdown:
1. Unboxing Your Mechanical Keyboard
Upon receiving your brand-new mechanical keyboard, the excitement can be palpable. Carefully unbox the keyboard, making sure not to damage any components or accessories. You’ll typically find the keyboard itself, a USB cable, and any additional keycaps or accessories.
2. Connecting the Keyboard
Connect your keyboard to your computer using the provided USB cable. Most modern mechanical keyboards use USB Type-C connectors, ensuring a secure and reliable connection.
3. Installing Drivers (If Necessary)
In some cases, your operating system might automatically detect and install the necessary drivers for your keyboard. However, if your keyboard comes with specialized software or features, it’s recommended to visit the manufacturer’s website and download the latest drivers or software for optimal performance.
4. Testing the Keyboard
Before diving into customization, ensure that all the keys on your custom keyboard are functioning correctly. Open a text editor or word processor and press each key to verify its response.
5. Customizing Keyboard Settings
Now comes the fun part – customization! Most mechanical keyboards allow you to customize various settings, such as key backlighting, macros, and key assignments. Use the manufacturer’s software to personalize your keyboard to match your preferences and needs.
6. Exploring Advanced Customizations
For enthusiasts looking to take their keyboard setup to the next level, consider exploring advanced customizations such as programming complex macros, creating custom keycap layouts, and even lubricating switches for a smoother typing experience.
Tips for an Optimal Mechanical Keyboard Setup
Setting up your mechanical keyboard for the best experience goes beyond the basic steps. Here are some additional tips to enhance your setup:
– Choose the Right Switches
Mechanical keyboards come with a variety of switches, each offering a unique feel and sound. Research and choose switches that align with your typing style and preferences.
– Keycap Upgrades
Consider upgrading your keycaps to enhance the aesthetics and tactile feel of your keyboard. Double-shot PBT keycaps are a popular choice for their durability and premium texture.
– Ergonomic Considerations
Pay attention to your keyboard’s positioning. A wrist rest and proper keyboard angle can significantly improve typing comfort during long sessions.
– Regular Maintenance
Keep your keyboard clean by using a keycap puller and compressed air. Regular maintenance prevents dust and debris buildup that can affect key performance. Getting a natural rubber mousepad can increase
Conclusion
Setting up a mechanical keyboard from scratch might seem like a daunting task, but armed with the right knowledge, it becomes an enjoyable and rewarding experience. Remember to take your time, explore customization options, and tailor your keyboard to your preferences. With the tips and steps outlined in this guide, you’re well-equipped to embark on your mechanical keyboard journey.


